Rooftop Tent Anti-Theft Guide
A rooftop tent is visible, valuable, and externally mounted, but full tent theft is still unusual in most everyday contexts. In practice, risk is often low to medium and rises mainly with long exposure in poor parking conditions. The goal is not "impossible to steal". The goal is to make theft slow, noisy, and unattractive compared with easier targets.
Threat reality at a glance
| Theft scenario | How it usually happens | Risk level | Best countermeasure |
|---|---|---|---|
| Whole tent removal | Fasteners are loosened and tent is lifted into another vehicle | Low to medium | Locking hardware + hard-to-reach parking position |
| Accessory theft | Ladder, annex, or loose gear removed quickly | Medium | Store removable items inside vehicle overnight |
| Urban overnight hit | Long exposure in low-traffic areas | Medium | Lighting, camera coverage, short dwell time |
| Trailhead opportunism | Visible equipment, no witnesses for hours | Low to medium | Low-profile setup + no visible valuables in cabin |
How tents get stolen
Common scenarios:
- Whole unit removed by undoing a small number of mounting points and lifting to a van or trailer.
- Partial theft of annexes, ladders, awnings, or loose camping gear.
- Preparation theft where bolts are loosened first, then removed later when conditions are easier.
Mounting: your first security layer
Security starts with correct installation to manufacturer torque specs using the right feet, clamps, or T-track hardware for your bars. Re-check bolts after the first trips; vibration can loosen fasteners. Our mounting guide covers baseline fit; pair it with roof bars matched to your vehicle.
Installation quality checklist
- Use the exact fastener diameter and plate format specified by tent + rack brands.
- Torque in stages (cross pattern) and re-torque after first 100-200 km.
- Mark nut positions with paint marker so movement is visible at a glance.
- Keep the security key/tool in a separate location (not in obvious glovebox storage).
Locking systems compared
Depending on brand and rack type, you may add:
| Option | What it does well | Limitation | Best use | Example link (EN) |
|---|---|---|---|---|
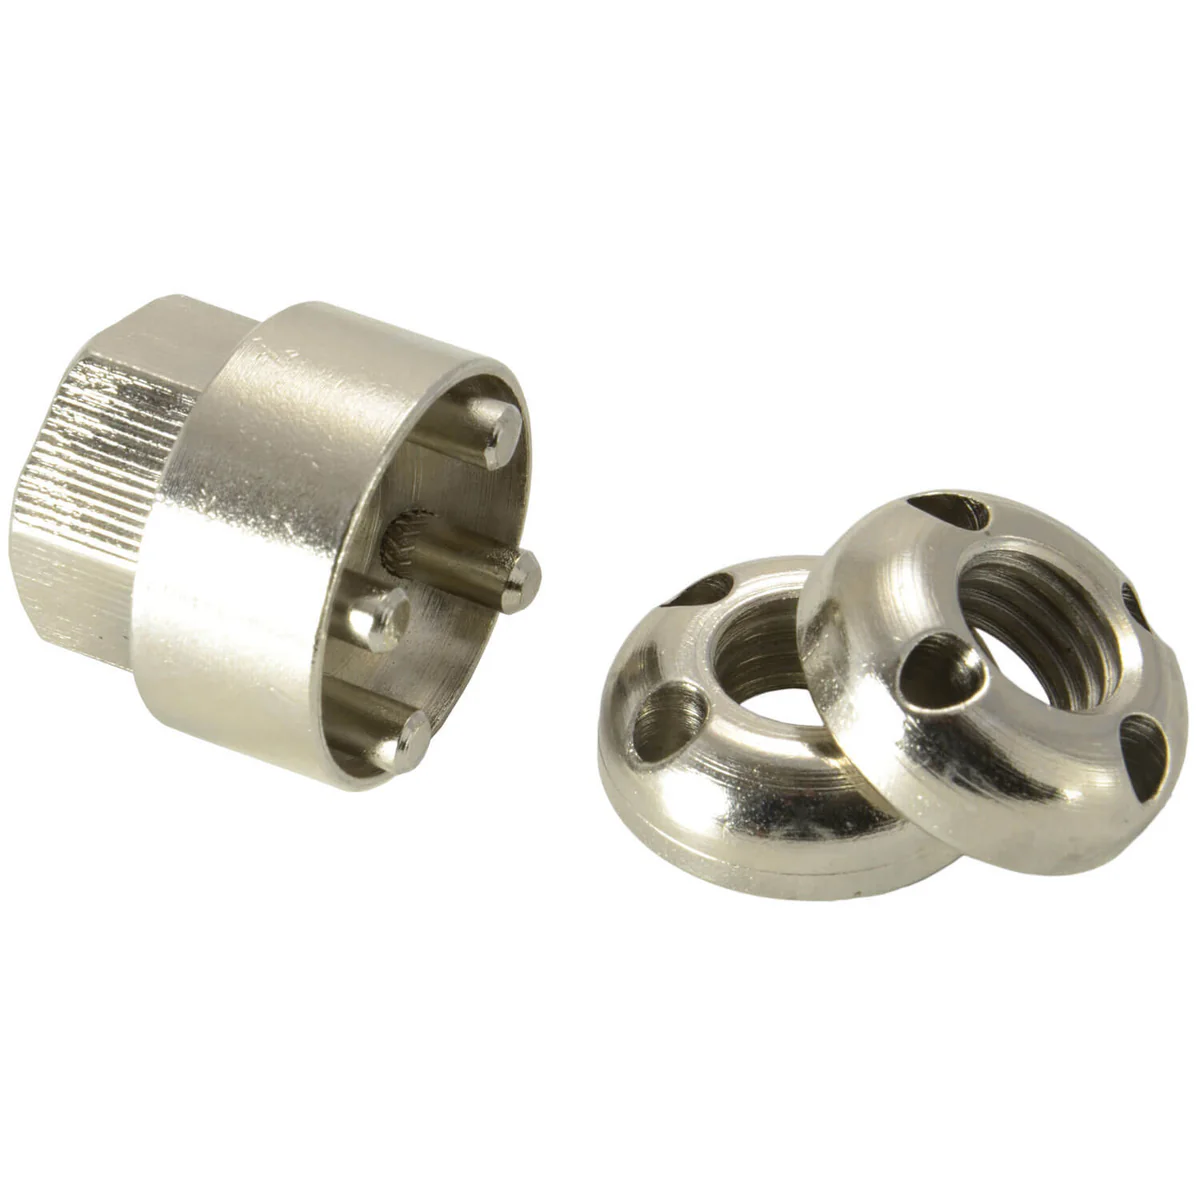
| Locking nuts / keyed hardware | Blocks quick wrench removal | Compatibility varies by thread and mount design | Primary anti-removal layer | TentBox Security Nuts |
| Shielded plate or cover systems | Reduces tool access to nuts/bolts | Higher cost and fit constraints | Urban overnight parking | iKamper Diebstahlschutz Dachträger 3.0 |
| Hardened cable through rack points | Adds delay and visual deterrence | Can be cut with proper tools | Supplementary layer only | Kryptonite KryptoFlex Cable |
| GPS tracker | Improves recovery odds after theft | Does not prevent initial theft | Post-theft response layer | Apple AirTag |
Treat locks as time delay and friction tools, not magic. The strongest setup combines hardware plus behavior.
Parking risk matrix
| Parking context | Risk | What to do |
|---|---|---|
| Private garage / controlled lot | Low | Best default when available |
| Busy, lit city street | Medium | Park near cameras and foot traffic |
| Dark side street overnight | High | Avoid or reduce dwell time drastically |
| Remote trailhead all day | Medium to high | No visible valuables, lock all accessories, vary routine |
Practical habits that reduce targeting
- Keep external appearance less "resale-clean" with unique, hard-to-remove identifiers.
- Do not leave annexes, ladders, or high-value camp gear unattended.
- Avoid predictable routines when parked long term in the same public area.
Insurance and paperwork
Photo your serial numbers, receipts, and mounting setup. Ask your insurer whether the tent is covered as vehicle equipment, camping gear, or requires an add-on rider.
Claim-ready documentation pack
- Serial number photo and close-ups of identifying marks
- Purchase invoice and install receipts
- Photos of anti-theft hardware in mounted state
- Recent trip photos proving normal use and possession
Rentals
If you rent a rooftop tent, clarify who carries theft risk during the hire and document condition at pickup/return. Our rental checklist helps.
If theft happens: first 30 minutes
- Move to a safe location and confirm exact loss (tent vs accessories).
- Take photos of mounting points, damaged hardware, and surrounding area.
- File a police report immediately with serial numbers and timestamp.
- Notify insurer and rental provider (if relevant) with evidence pack.
- Monitor resale platforms and local groups with clear identifying details.
Summary
Anti-theft for rooftop tents works as a layered system: correct mounting, targeted hardware, smart parking, and claim-ready documentation. Build friction for thieves and keep your response plan ready before you need it.
Find rooftop tents near you
Rent from local owners and try before you buy.